Outdoor LED projects face more than rain. They endure condensation, sprinkler spray, mud, ultraviolet exposure, and repeated temperature changes. A bright strip can fail quietly inside a sealed channel. The damage often begins with a small gap around a connector.
That is why homeowners, contractors, and lighting designers ask, “How to waterproof LED lights for outdoor projects?” The answer starts with product selection, not silicone alone. IEC 60529 defines IP protection ratings, including IP65 for water jets and IP67 for temporary immersion. IP68 requires manufacturer-specified conditions, so the rating needs careful reading. An IP number is not a complete installation plan.
Industry research also supports careful design. The International Energy Agency reports that lighting uses roughly 15% of global electricity consumption. The U.S. Department of Energy’s Solid-State Lighting reports describe LEDs as highly efficient, but they also emphasize thermal management and product quality. Efficient lighting still fails when heat, moisture, or poor connections are ignored.
Field installers commonly inspect cable entries, end caps, drainage paths, and mounting surfaces before energizing a system. They use outdoor-rated connectors, heat-shrink seals, and compatible junction boxes. Small details matter. A dry test today proves little.
This guide explains how to waterproof LED lights for outdoor projects with practical steps and standard-based decisions. It covers IP ratings, sealants, wiring, drainage, testing, and maintenance. Some popular advice sounds convincing but remains incomplete. Waterproofing is not permanent protection. It is a system that must be checked after storms, cleaning, and seasonal movement.
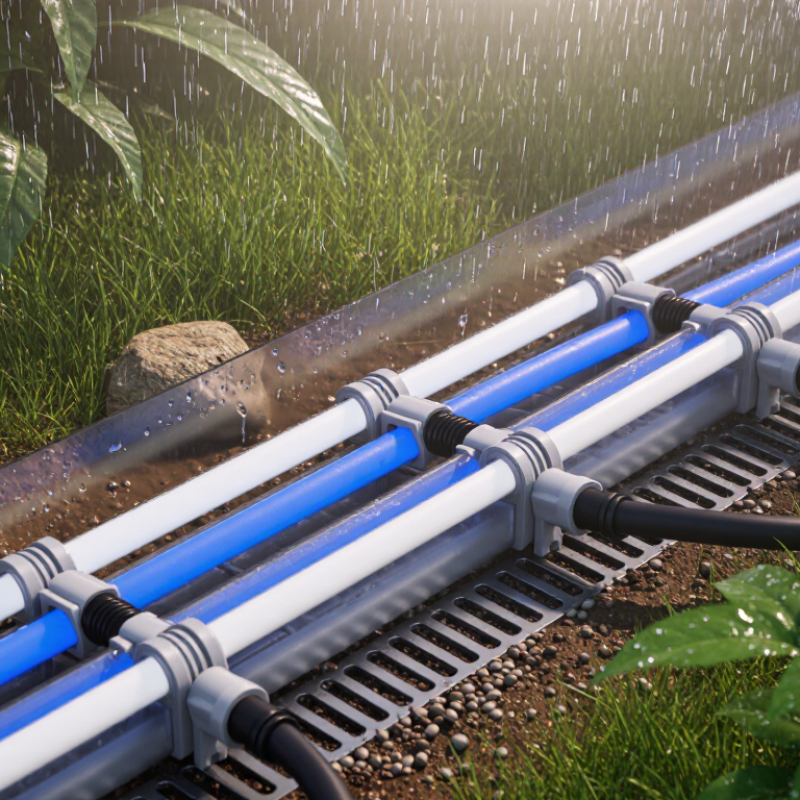
Outdoor LED waterproofing starts before sealant reaches the workbench. Choose fixtures, strips, drivers, and connectors specifically rated for outdoor exposure. Look for an IP rating suitable for the location, not merely the word “waterproof.” IP65 can resist water jets, while submerged areas need a higher rating designed for immersion. Check product documentation and local electrical requirements. A low-voltage system is often easier to manage, but its power supply still needs weather protection. Sunlight, frost, salt air, and heat can weaken plastics over time. Use UV-resistant housings and cable jackets where possible. Small details matter.
Mount lights above standing water, and create a drip loop before cables enter a box or fixture. Seal cable entries with compatible glands, then keep drainage paths open. Do not bury a connection unless its enclosure is approved for burial. I once trusted a tight-looking connector and ignored water collecting beside it; corrosion appeared later. That mistake still influences my inspections. Test the lights during dry weather, then inspect them after rain. Watch for flicker, condensation, warm connectors, or tripped protection. Replace damaged seals instead of adding random adhesive, which may trap moisture or block heat. Leave slack for expansion, but avoid loose cables rubbing against sharp edges. If the rating is unclear, choose another component or ask a qualified electrician. Outdoor conditions are less forgiving than a workshop.
Before waterproofing outdoor LED lights, inspect them under bright, dry conditions. Unplug the power source and remove loose dirt with a soft brush. Check the housing for hairline cracks, warped covers, or gaps around screws. Small defects matter. Water rarely enters through the center of a solid lens. It often follows a cable, seam, or poorly seated gasket. I once missed a narrow crack beside a mounting hole. Rain later reached the circuit board, changing my inspection routine.
Trace every possible entry point with your fingers, without applying excessive force. Examine cable glands, plug connections, solder joints, and end caps. Look for flattened seals, brittle rubber, corrosion, or green residue near contacts. Condensation inside the lens is important evidence. A cloudy lens may indicate trapped moisture, not harmless fog. Photograph suspicious areas before opening anything. This record helps compare damage after a rain test.
Do not rely only on appearance. Confirm the light’s outdoor protection rating and installation instructions. These ratings apply only when seals are correctly fitted. After drying the unit completely, inspect the gasket for twists or missing sections. A common oversight is the cable’s lowest point. Water can run along it toward the housing. Leave room for drainage and avoid sealing a hidden wet cavity. If uncertain, replace damaged seals or consult a qualified electrician. My inspections are slower now, but they miss fewer problems.
Inspect the areas most likely to allow water into the fixture before applying sealant or replacing damaged components. The chart shows a practical inspection priority score from 1 to 5, where 5 indicates the highest priority.
Start with cable glands, housing seams, and lens seals because loose fittings, cracked gaskets, and gaps in these areas can allow water to reach electrical connections. Also inspect connectors, screw holes, and mounting points for corrosion, missing seals, or trapped moisture.
Outdoor LED failures often begin at small openings, not the lamp itself. Seal every connection, fixture joint, and cable entry before exposure to rain. IEC 60529 rates IP65 enclosures as dust-tight and protected against water jets. IP67 adds temporary immersion protection up to one metre for 30 minutes. These ratings apply only to the tested assembly.
Use outdoor-rated connectors with matching gaskets, then tighten them evenly. Avoid wrapping ordinary tape around exposed joints; sunlight, heat, and trapped moisture can weaken it. Place cable openings downward whenever possible.
Install a compression gland sized for the cable diameter, and leave no visible gap around the jacket. A drip loop also prevents water from following the cable into the fixture.
Inspect seals after one rainstorm.
NEMA 250 guidance distinguishes enclosure protection by exposure, corrosion, and water entry, so a higher IP number does not solve every site problem. Salt air, standing water, and repeated freezing can damage a seal faster than expected. I have found that over-tightening glands can be as harmful as leaving them loose. It may distort the gasket and create a hidden path for moisture. Test each circuit with power disconnected, check for condensation, and replace cracked or flattened seals. The U.S. Department of Energy’s solid-state lighting guidance also emphasizes thermal management; waterproofing should not block ventilation designed by the fixture manufacturer.
Outdoor LED lights often fail because water has nowhere to escape. A sealed enclosure can trap condensation inside. Install it with a slight downward slope, so rainwater moves away from the light and cable entry. Add a small drainage path at the lowest point, without exposing live electrical parts. Use weather-rated cable glands and create a drip loop below every connection. The loop lets water fall before it reaches the enclosure.
Choose a protective enclosure with a suitable IP rating for the location. Covered patios may need less protection than exposed walls or garden paths. Keep connectors above standing water, even inside a box. Mount the enclosure on a solid surface, not directly in wet soil. I once placed a junction box too close to a sprinkler line. It looked secure, but repeated splashing caused moisture buildup. That mistake changed how I plan outdoor lighting.
Before installation, switch off the power and inspect cables for cuts or crushed insulation. Low-voltage systems still need careful connections. Mains-powered work should be checked by a qualified electrician. After heavy rain, open the enclosure only when the circuit is isolated and dry. Look for fogging, rust, loose glands, or brittle seals. Replace damaged seals promptly. Drainage holes can help, but poorly placed holes may invite insects and dirt. Test the design during a controlled water spray, then inspect it again the next day. Real weather is less forgiving than a quick test.
| Outdoor Application | Recommended Minimum IP Rating | Water Exposure | Drainage and Enclosure Measures | Cable Entry and Connections | Safety and Inspection Requirements |
|---|---|---|---|---|---|
| Covered patio or sheltered wall light | IP44 or higher | Occasional splashing and light rain; the fixture should remain sheltered from direct water flow. | Use a sealed backplate or enclosure. Keep the lowest point clear so trapped condensation can escape. | Use suitably rated cable glands or grommets. Keep connection points above areas where water can collect. | Inspect seals after installation and after severe weather. Do not use an indoor-only fixture outdoors. |
| Exposed wall, soffit, or pathway lighting | IP65 or higher | Dust exposure and water jets from rain or cleaning. IP65 protects against water jets but is not an immersion rating. | Install a weather-resistant enclosure with a sloped top. Add a low-point drainage opening only where the enclosure design permits it. | Route cables downward before entering the enclosure to form a drip loop. Seal unused cable entries. | Use corrosion-resistant fasteners and check that the enclosure remains fully closed after servicing. |
| Locations exposed to heavy rain or powerful water jets | IP66 or higher | Powerful water jets from multiple directions. The rating does not automatically permit underwater installation. | Use a robust sealed housing with a fitted gasket. Prevent standing water around the housing and keep drainage paths unobstructed. | Use compatible waterproof glands and outdoor-rated junction boxes. Avoid placing connectors in low points. | Confirm that the complete assembled system—not only the LED module—has the required protection rating. |
| Ground-level fixtures subject to temporary puddles | IP67 or higher | Temporary immersion in water up to 1 metre for up to 30 minutes under the IP67 test condition. | Mount the fixture on a stable, slightly raised base where practical. Provide gravel or another permeable drainage layer to prevent pooling. | Place junctions above the expected water level. Use sealed connectors designed for the cable type and environmental conditions. | IP67 does not guarantee protection during continuous or deeper immersion. Use an appropriate higher-rated product when required. |
| Water features, fountains, or continuously wet areas | IP68 when specified for the installation | Continuous immersion at a depth and duration defined by the manufacturer or applicable product standard. | Use an enclosure and cable system specifically designed for permanent wet service. Do not rely on sealant alone as the primary barrier. | Keep all joints outside the wet zone whenever possible. Use low-voltage equipment and fully sealed, compatible connections. | Follow local electrical rules for pools and water features. Have installation and testing completed by a qualified electrician where required. |
| LED strip installed inside an outdoor channel | IP65–IP67, depending on exposure | Protection varies by the strip, channel, end caps, and connection method. An open channel can allow water entry. | Use a sealed channel with end caps for wet areas. Leave no unsealed cut end exposed; position the channel so water cannot remain trapped. | Seal strip ends and cable exits with compatible components. Avoid sharp bends that can damage the waterproof coating. | Verify the power supply is installed in a dry, ventilated, accessible enclosure with adequate capacity and overcurrent protection. |
| Outdoor transformer or LED driver enclosure | IP65 or higher outdoors | Rain, dust, condensation, and temperature changes can affect the power supply even when the LED is sealed. | Mount above the ground, provide a rain-shedding cover, and avoid sealing a heat-producing driver in an unventilated box. | Use strain relief and downward-facing cable entries. Keep mains and low-voltage wiring separated as required by local codes. | Provide residual-current protection where required by local regulations. Allow access for inspection and replacement. |
Outdoor LED waterproofing should be tested before installation and after severe weather. Check the housing, lens, gaskets, cable glands, and connectors for cracks or looseness. A clean lens proves little. Moisture often enters through a small cable opening.
Use the protection rating as a testing guide. IEC 60529 defines IP classifications for resistance against dust and water. An IP65 fixture should tolerate water jets, while IP67 equipment can withstand temporary immersion under specified conditions. Do not treat either rating as permanent protection.
Follow the stated test limits, disconnect power, and inspect for condensation afterward. A low-voltage test setup can reveal flickering, delayed startup, or water entry without exposing the entire project to risk.
Maintenance protects performance over time.
The U.S. Department of Energy’s solid-state lighting guidance commonly evaluates LED useful life around 25,000 to 50,000 hours, depending on heat, driver quality, and operating conditions. Waterproofing failures can shorten that period sharply.
Clean dirt from fins and lenses every few months. Tighten accessible fittings carefully, but avoid crushing seals. Replace damaged gaskets and cable glands immediately.
After storms, look for cloudy lenses, corrosion, trapped water, and darkened circuit areas. I would also record inspection dates and test results. That small habit exposes patterns. My earlier assumption that “sealed” meant maintenance-free was wrong; outdoor moisture is persistent, and even a well-rated enclosure can deteriorate.
Choose an enclosure rated for the site’s exposure. IP65 handles water jets. IP67 supports temporary immersion up to one metre.
No. Choose strips, drivers, connectors, and housings specifically rated for outdoor use. Sunlight, frost, salt air, and heat can weaken ordinary materials.
Face openings downward when possible. Use a correctly sized compression gland. Add a drip loop so water cannot follow the cable inside.
Usually not. Tape can loosen, trap moisture, and weaken under sunlight. Use matching outdoor connectors with intact gaskets instead.
Only if the enclosure is approved for burial. Otherwise, keep connections above standing water and provide a visible drainage path.
Mount fixtures above low spots. Keep drainage paths open. Avoid placing connectors beside puddles or beneath areas where rain gathers.
Test them during dry weather, then inspect after rain. Look for flicker, condensation, warm connectors, damaged seals, or tripped protection.
Not reliably. Adhesive may trap moisture or block needed heat release. Replace cracked or flattened seals with compatible parts.
No. A low-voltage system may be easier to manage, but its power supply still needs suitable outdoor protection.
Do not trust a connector because it looks tight. I once did. Corrosion appeared later beside collected water. Inspect small details carefully.
Learning how to waterproof LED lights for outdoor projects starts with selecting fixtures, cables, connectors, and power supplies specifically rated for outdoor conditions. Before installation, inspect each light carefully and identify possible water entry points, including cable joints, screw holes, seams, and open ends. Use suitable outdoor sealants, waterproof connectors, heat-shrink tubing, or gaskets to protect these areas without blocking ventilation or creating unnecessary pressure inside the fixture.
For added safety, place lights in protective enclosures when appropriate and install them so water can drain away rather than collect around the housing or connections. Avoid placing vulnerable components directly on wet ground, and arrange cables with downward loops to reduce water flow toward electrical openings. After installation, test the lighting system in a controlled manner and check for moisture, flickering, corrosion, or loose seals. Regular cleaning and periodic inspections will help maintain waterproof protection and extend the service life of the outdoor LED lights.

Guangyao Lighting